Wednesday, December 27, 2006
10 tips for good Travel photography
Travel presents the best opportunity for photography, and over time I have developed some tactics to take decent photographs. You can take good photographs even with basic equipment, and without spending too much time setting up or in post editing. The hardest part (especially for a non-artistic person like me) is to understand what constitutes a good photograph - the subject of interest, lighting, and focus, but this can be developed by reading books, photography blogs and seeing the works of good photographers. Here though is some basic tactics that will improve your travel photography:
1. Hardware and software - Along with your expensive camera, it is always good to have a small inexpensive pocket digital camera. The best opportunities while traveling arise when you are involved in physical activity - hiking, on the beach, or the boat - when it is too risky to carry an exepensive camera. Along with your cameras it is good to have a tripod or a monopod. Use a good free software like the Gimp (www. gimp.org) which allows you to manipulate your digital photos after you get home... this will make a big difference.
2. Early morning or late evening - The best photos are generally taken in the early morning or in the evening when the slanting rays of the sun provide a warm golden light. This reduces harsh shadows and contrasts in your photos. While travelling I like to use my small camera throughout the day. In the evening time, typically having reached a scenic spot or on the way back from an excursion I use the main camera to take the best photos.
3. Choose a subject - The most common mistake that beginners make is not deciding on a subject. Generally while travelling every vista appears so beautiful, that people just point their camera at the scenery and snap photos. Thus they end up with several moderate photos of the same scenery. The trick to good photography is to not include all the beautiful things, but to eliminate that which does not add to the beauty of one single subject. If required take several photographs of the same scene, but focusing on different beautiful things each time.
4. Making an interesting photo - It would be fantastic if you arrive at a remote beach, and suddenly find the sun forms a golden orb behind a spectacular cloud formation, and the rays hit the water and cliffs at exactly the right angle. But typically you will have to contend with less than extraordinary scenes during travel. You can still make good photos, by improvising.
a. Angles - To add drama to the subject change the perspective. For example by going down low and looking up towards the subject you can get an intersting perspective.
b. Micro - Try to focus on something small, like a single pebble on the beach instead of the whole scene, to create a different photograph.
c. Action - An element of interest in the photo can be introduced by photographing something dynamic. For example wait to catch the wave breaking on the rocks, the expression of a person who is part of the scene, etc.
d. Create - There is no harm in manipulating the scene to some extent by introducing subjects and posing them to make something of interest. For example tossing a rose in a stagnant pool of water creates something interesting in an otherwise colorless, and static scene.
5. Framing the subject - Follow the law of thirds while framing the subject. Divide the frame into 3 layers - the upper third, the middle third, and the bottom third. Similarly divide it vertically into the left third, the middle third and the right third layer. The dividing lines in your scenery should approximately coincide with these 3 layers. Your subject should be placed at one of the 4 intersections of the dividing lines.
6. Lighting, and focus - Different shades of light on the subject and in the scene, makes it come alive. Similarly by selectively focusing on certain objects, and keeping the other blurred you create a depth of field which adds 3 dimensional perspective. It is good to reduce harsh contrast, especially on the face (if photographing humans). At the very least have the subject face the sun, and make sure that the surrounding scene is generally the same brighness as the subject. If you have seen photos where the subject's face is either washed out or too dark, while the surrounding scenery is perfect, you know what I mean.
7. Color and depth of field - Color adds variety and brings a photo to life. While several artistic photos are devoid of bright colors, an amateur travel photographer can do very well by including the basic colors of red, green, and blue in his/her photos. Also some elements might not appear to be much while on-site, but after you come home and download the photos to your computer you see the difference they make in the photos. These are elements that add depth to the photo - a road tapering off in the distance, clouds that can add both drama, color and depth, the shoreline, a fence, or anything that informs the viewer about the relative magnitudes of height and distance in your photographs.
8. Taking the photo - It is always best to use a tripod while taking photos. Even with the pocket camera, you can take great photographs, just by placing the camera on something solid (your knapsack, or a rock), and setting it on the timer. This will keep the camera steady as it snaps the photo. If you have a camera where you can adjust the apperture, shutter speed and focus, just as an experiment, it is good to get 2 or 3 different photos of the same scene, with different parameters. You will be amazed at the results.
9. Edit your photos - You can always improve your photos with basic editing software like the Gimp or Photoshop. Even after taking an unimpressive photo, as long as the right elements are there, you can achieve good results by simple editing techniques like cropping, applying the contrast mask, or other digital tricks. For a set of tutorials for the gimp check out - www.gimp.org/tutorials/
10. The power of plenty - The advantage of digital photos is that you can take a very large number of them. Just the law of probability guarantees that some of them will come out good. But that takes me back to the earlier point - recognising a good photos is the hardest part for an amateur like me. And always learn from your mistakes....
Monday, December 25, 2006
Washington DC, New York & Camping in the Adirondacks... compressed into one blog (June, 2006) - We saw Dick Cheney in DC. We had just parked our car in a public garage and come out.
First there were sirens and a SUV came racing by packed with guys carrying guns which looked like small cranes. Then there was a black limo where we could see the silhoute of Cheney talking to someone on a cell phone.
Seeing this charismatic yet stern American 2nd in command brought us good luck, because we had a bright sunny day and enjoyed the sights of DC.

It is easy to navigate and see all the sights in the capitol, mainly because of the excellent hop-on/hop-off trolley that takes you around. Washington DC is located on a hill and is so well spread out that the spectacular buildings can be seen from everywhere.
First we saw the white house which was not interesting from the distance. Then onto Washington memorial.
We took two days to sign off on 10% the intervening museums between Washington memorial and the Capitol building.
A larger sized and dustier Capital bulding, but otherwise an exact replica can be found in Cuba. Check out the Cuba blog below.
Washington DC is the most awe inspiring capital in the world (of the 5 capitals I have seen) because of the grandiose scale and the simple yet monolithic architectural style of the structures.
In order to accentuate the magnificent size of the buildings, the city planners have cleverly provided horizontal space to fully appreciate the scale.

The Lincoln memorial is probably the most liked and most popular. A great capital of a great country.
I have been to New York a couple of times before. This time we went to the Museum of Natural history and to the Empire State Building.


Here are a couple of pictures.... one from the bottom, and one from the top.

Another way to look at a city of this magnitude, other than the roof of a tall building, is from a boat. The New York cruise offers a nice vantage point from where to watch the city glide by.
The Manhattan skyline above the tourists' headline.

We headed off to a campsite close to Schroon Lake, located on Schroon river, called Rancho Pines the next day. The campsite itself was not that great but we visited the large lake to the north which had some spectacular sights.
Patriotic July 4th celebrations were underway in the town, with a parade scheduled for the afternoon.

We drove around the lake in the evening and came accross this white and red house in the distance, shrouded somewhat due to the heavy moisture in the air.
The following day we made a trip to Lake George. It is an interesting place with Fort William Henry providing historical perspective to the festive town.

Although the lake is fantastic, either owing to the kind of attractions it has or a botched marketing campaign by the town, we saw a predominantly
lower class of people visiting it that day. Cheesy T-shirts and shoddy dental work of the visitors made this the poor man's Hawaii.
Nevertheless we fearlessly mingled and headed back to Ottawa the next day.
First there were sirens and a SUV came racing by packed with guys carrying guns which looked like small cranes. Then there was a black limo where we could see the silhoute of Cheney talking to someone on a cell phone.
Seeing this charismatic yet stern American 2nd in command brought us good luck, because we had a bright sunny day and enjoyed the sights of DC.

It is easy to navigate and see all the sights in the capitol, mainly because of the excellent hop-on/hop-off trolley that takes you around. Washington DC is located on a hill and is so well spread out that the spectacular buildings can be seen from everywhere.
First we saw the white house which was not interesting from the distance. Then onto Washington memorial.
We took two days to sign off on 10%
 the intervening museums between Washington memorial and the Capitol building.
A larger sized and dustier Capital bulding, but otherwise an exact replica can be found in Cuba. Check out the Cuba blog below.
Washington DC is the most awe inspiring capital in the world (of the 5 capitals I have seen) because of the grandiose scale and the simple yet monolithic architectural style of the structures.
In order to accentuate the magnificent size of the buildings, the city planners have cleverly provided horizontal space to fully appreciate the scale.

The Lincoln memorial is probably the most liked and most popular. A great capital of a great country.
I have been to New York a couple of times before. This time we went to the Museum of Natural history and to the Empire State Building.


Here are a couple of pictures.... one from the bottom, and one from the top.

Another way to look at a city of this magnitude, other than the roof of a tall building, is from a boat. The New York cruise offers a nice vantage point from where to watch the city glide by.
The Manhattan skyline above the tourists' headline.
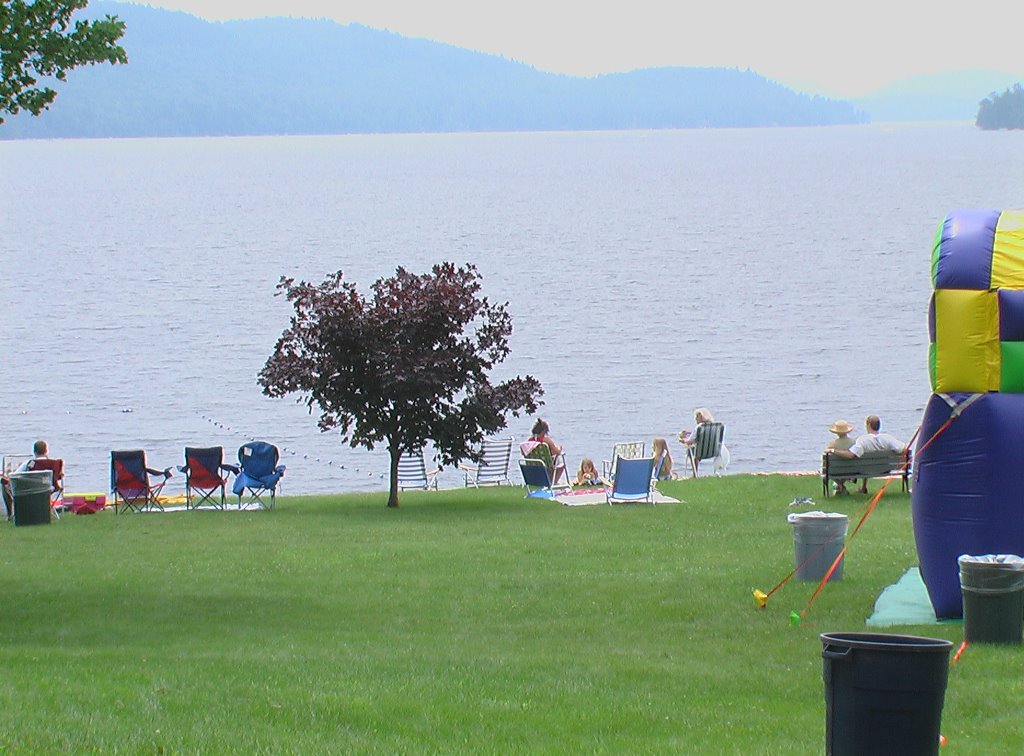
We headed off to a campsite close to Schroon Lake, located on Schroon river, called Rancho Pines the next day. The campsite itself was not that great but we visited the large lake to the north which had some spectacular sights.
Patriotic July 4th celebrations were underway in the town, with a parade scheduled for the afternoon.

We drove around the lake in the evening and came accross this white and red house in the distance, shrouded somewhat due to the heavy moisture in the air.
The following day we made a trip to Lake George. It is an interesting place with Fort William Henry providing historical perspective to the festive town.

Although the lake is fantastic, either owing to the kind of attractions it has or a botched marketing campaign by the town, we saw a predominantly
lower class of people visiting it that day. Cheesy T-shirts and shoddy dental work of the visitors made this the poor man's Hawaii.
Nevertheless we fearlessly mingled and headed back to Ottawa the next day.
Sand Banks Provincial Park - A beach in the middle of Ontario, Canada (July 2006)
Distance from Ottawa = 200 km.
Cost to book a campsite = $30
Want to go? http://www.ontarioparks.com/english/sand.html
 We camped in Sand Banks, a much sought after campsite located about half way between Ottawa and Toronto.
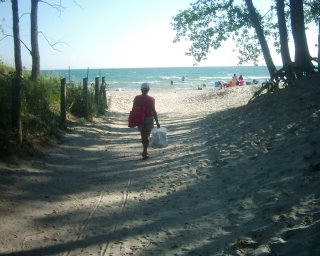
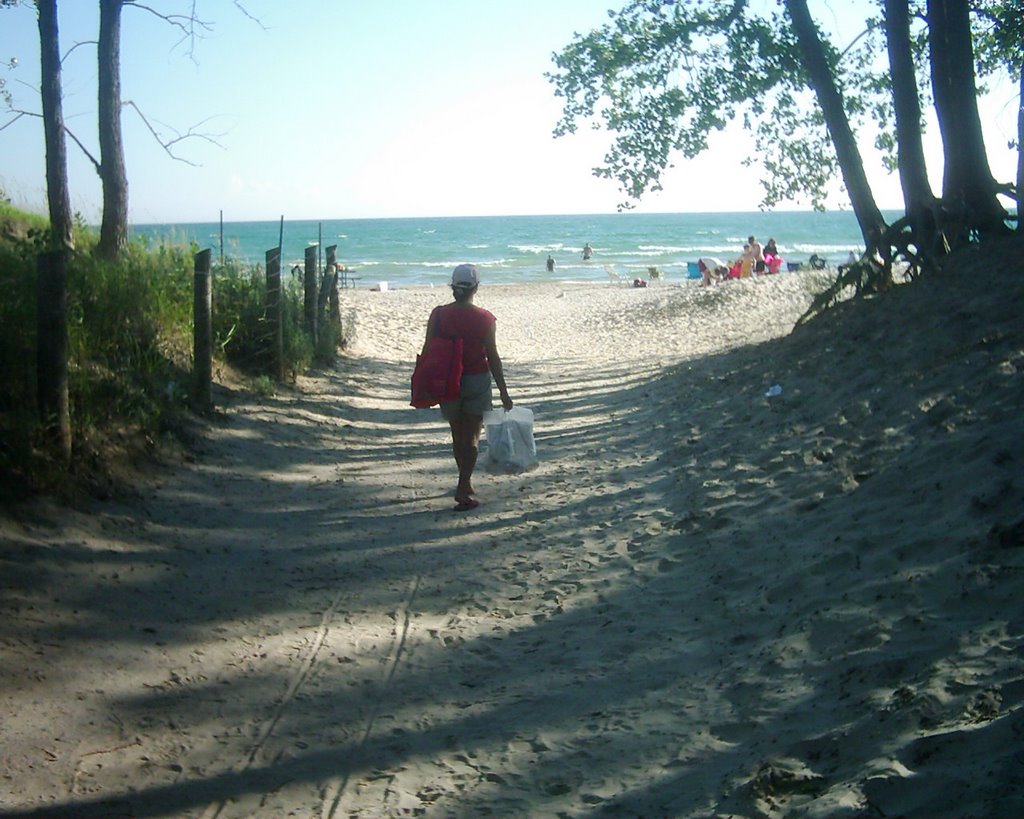
The Sand Banks campsite is an interesting geographic phenomenon. It is actually a sandbar that is formed in Lake Ontario. The beautiful sandy beach is the northern part of this sandbar.

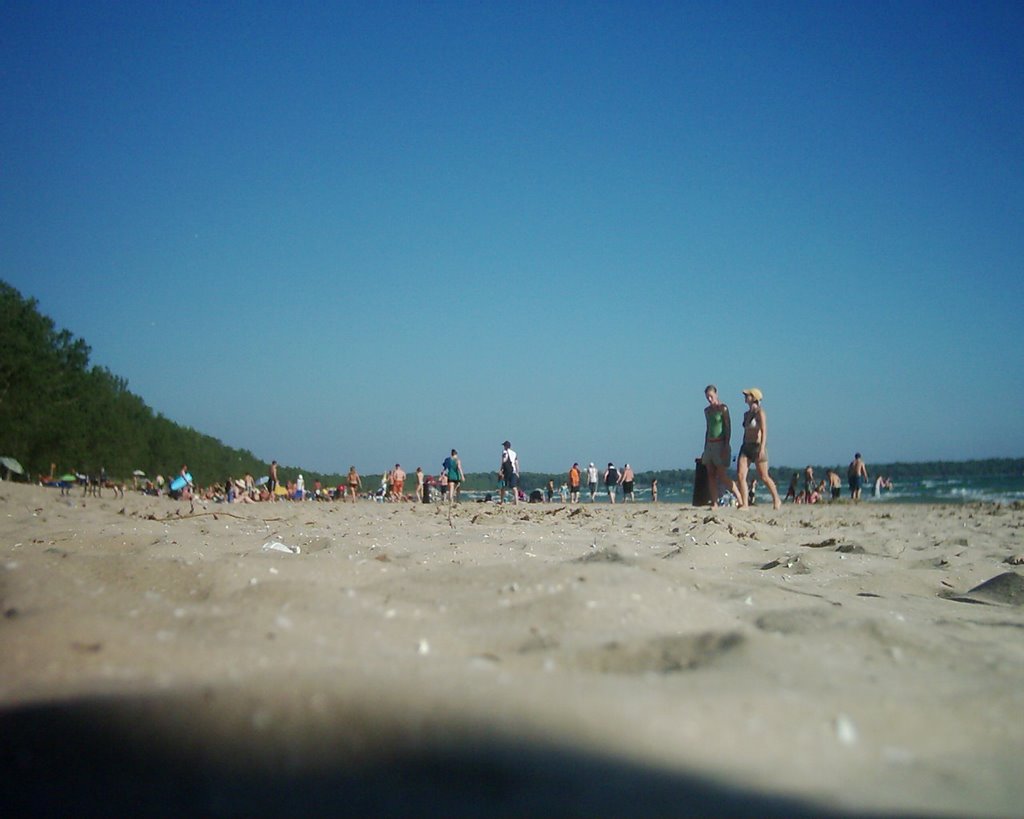
It gets quite crowded on any given summer weekend. The water is shallow and warm which is always a welcome attraction in Canada.

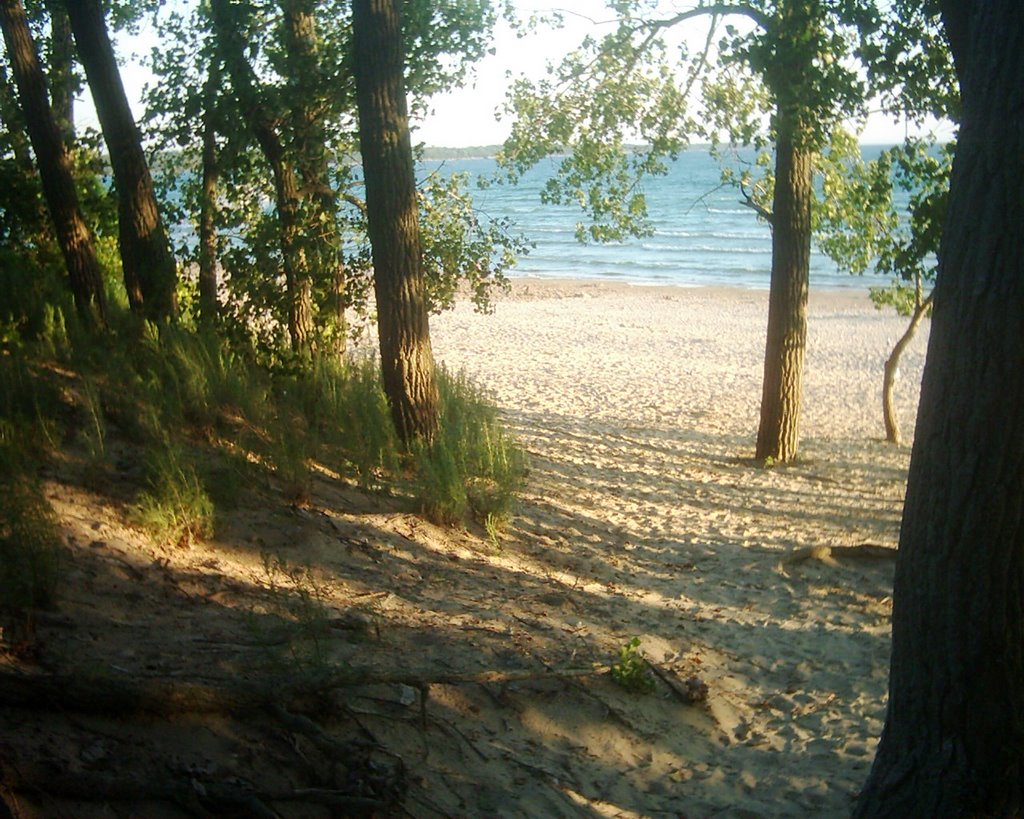
On either side of the sandbar is a stream which connects the two Lake Ontarios. We rented a canoe and navigated this dark meandering stream, all the way to the main lake.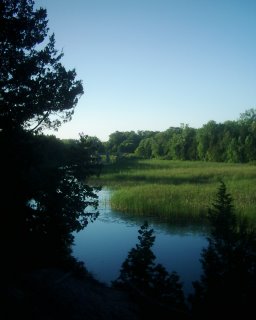
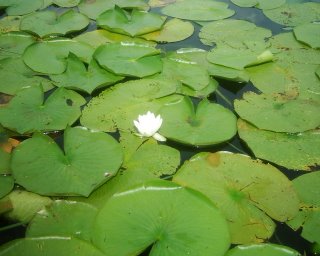
The stream had weeds, water lilies and wooded areas on either side. Through the clear water I could see bright green structures underwater, and snorkelled the depths to take a look.

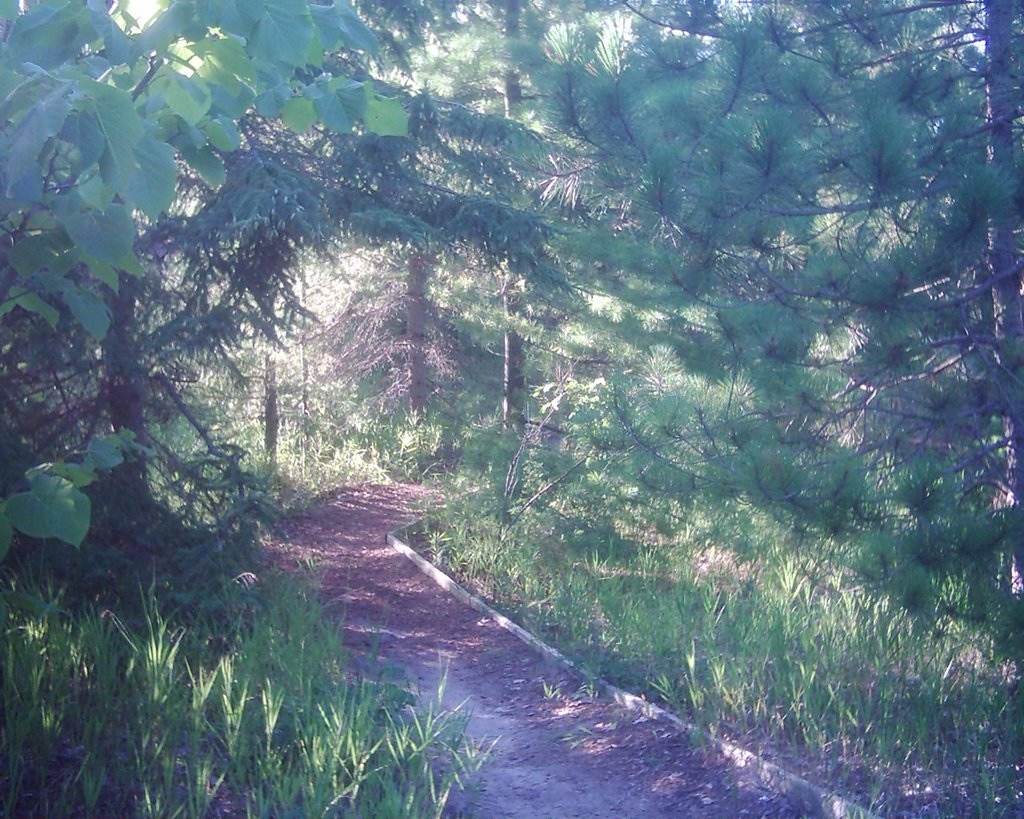
We took a walk through the wooded area on the sandbar. It is a protected area because of its ecological uniqueness .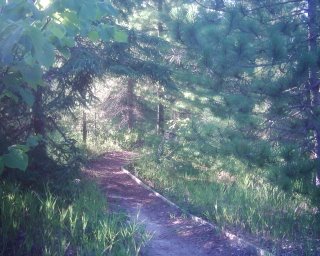
The sunset was spectacular. We chased the sea gulls with a soccer ball and then made our way back to the campsite to light a fire.
Distance from Ottawa = 200 km.
Cost to book a campsite = $30
Want to go? http://www.ontarioparks.com/english/sand.html
 We camped in Sand Banks, a much sought after campsite located about half way between Ottawa and Toronto.
The Sand Banks campsite is an interesting geographic phenomenon. It is actually a sandbar that is formed in Lake Ontario. The beautiful sandy beach is the northern part of this sandbar.
It gets quite crowded on any given summer weekend. The water is shallow and warm which is always a welcome attraction in Canada.
On either side of the sandbar is a stream which connects the two Lake Ontarios. We rented a canoe and navigated this dark meandering stream, all the way to the main lake.
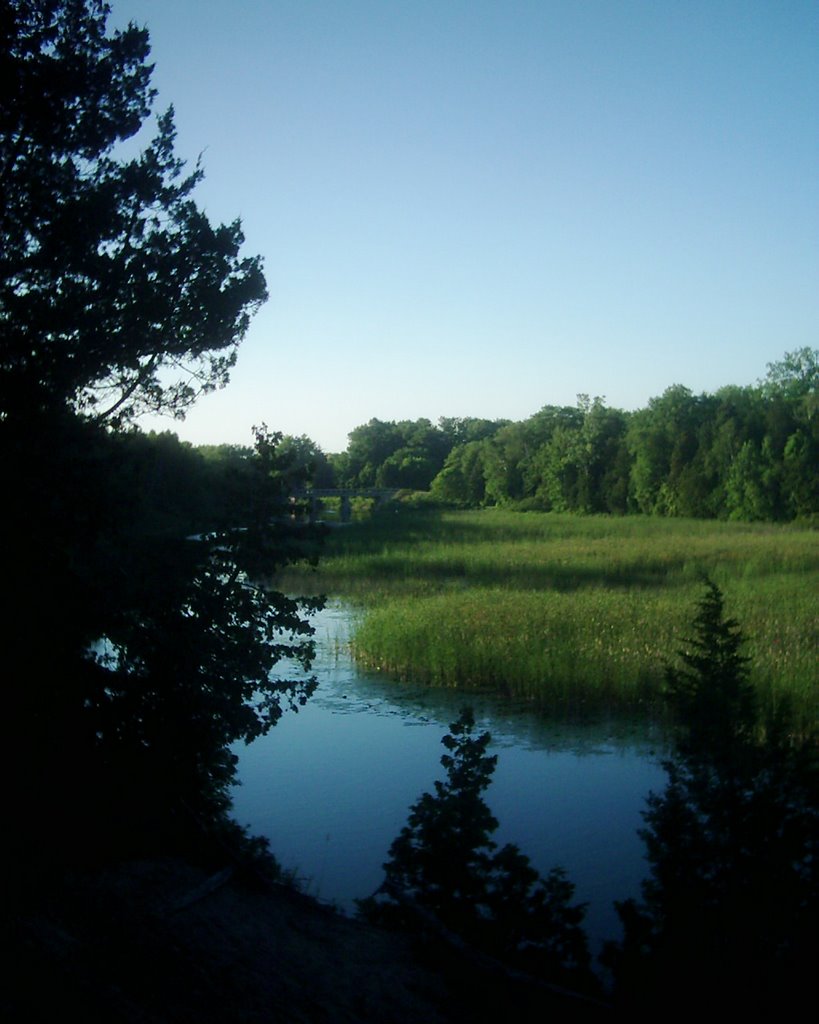
The stream had weeds, water lilies and wooded areas on either side. Through the clear water I could see bright green structures underwater, and snorkelled the depths to take a look.

We took a walk through the wooded area on the sandbar. It is a protected area because of its ecological uniqueness .
The sunset was spectacular. We chased the sea gulls with a soccer ball and then made our way back to the campsite to light a fire.

![]()